
Indoor Playground Installation Guide
Professional installation is essential to ensure the safety, stability, and long-term performance of Ocean Indoor Playground Equipment.
The following installation steps will guide you through the standard installation process.
INSTALLATION
Pre-Installation Check
Confirm site dimensions and safety distance.
Check all accessories and drawings.
Review floor plan and installation sequence.
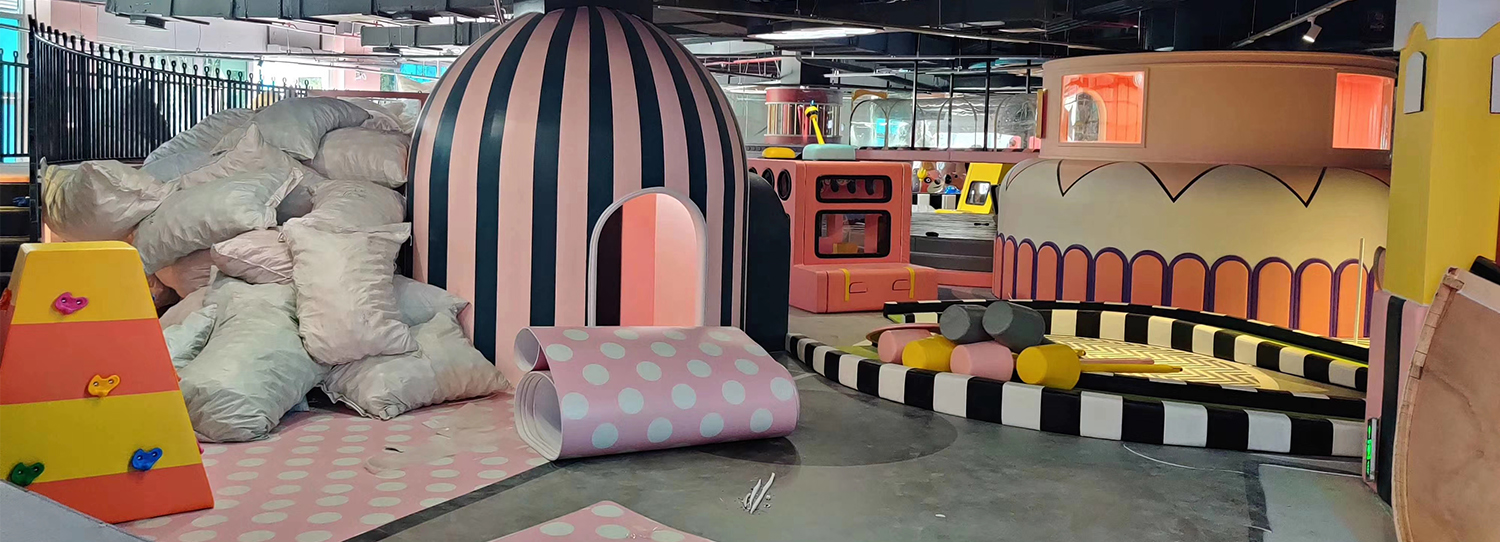
Floor & Safety Zone
Lay EVA mats or rubber flooring.
Leave proper safety buffer space.
Plan the layout according to the drawings.
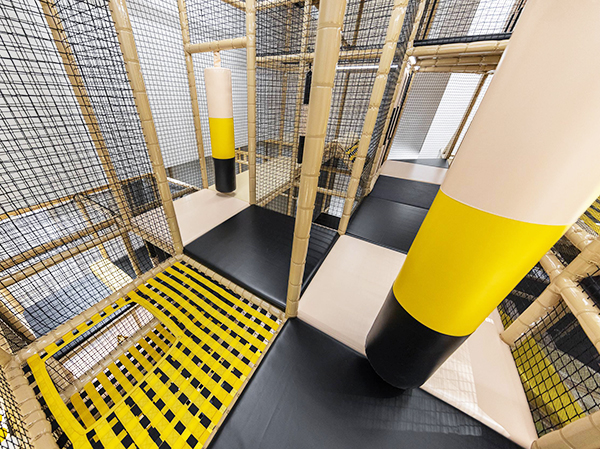
Main Frame Assembly
Assemble columns and beams in sequence.
Fasten with bolts and clamps.
Check vertical alignment.
Install protective bases.

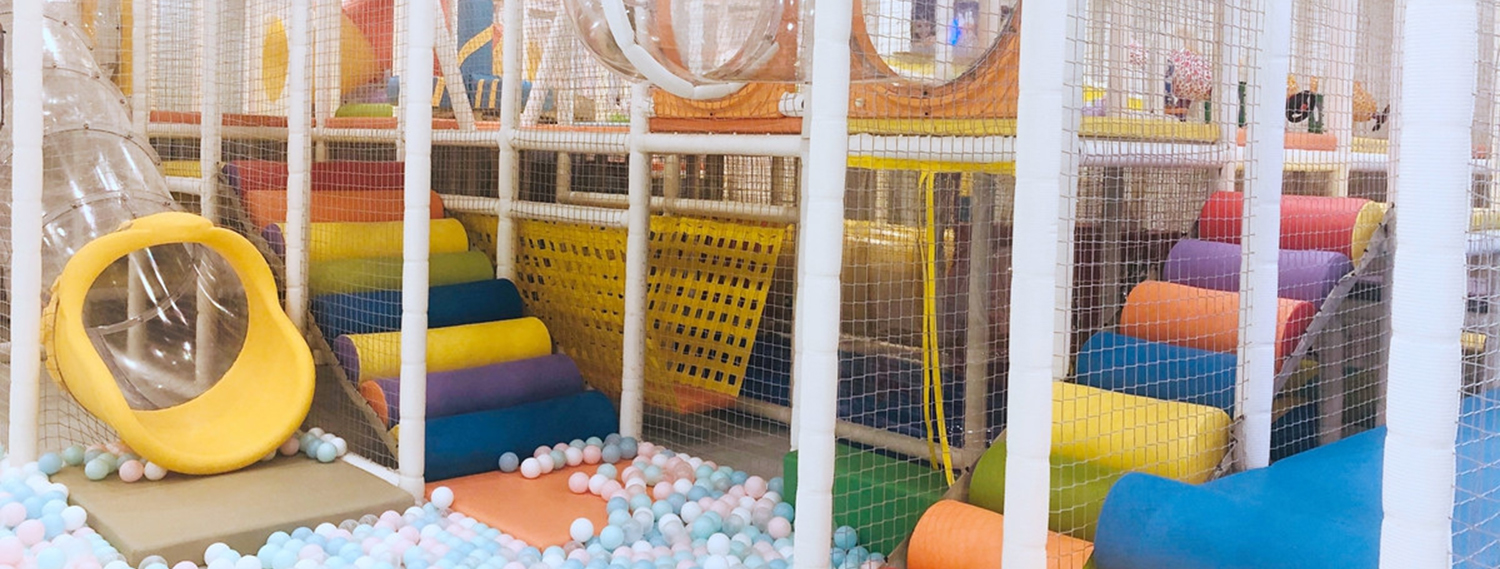
Accessories Assembly
Install slides, tunnels, and platforms.
Secure soft padding and foam panels.
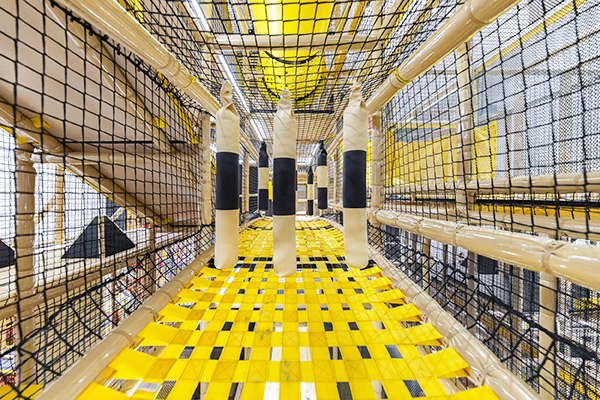
Install safety nets evenly.
Cover all connection points.
Final Adjustment & Inspection
Ensure all bolts are tightened.
Confirm there are no loose parts.
Check that there is no tilting or twisting.
Verify safety pads are installed properly.
Make sure dimensions match the drawings.
Safety Tips
Two-adult inspection is recommended.
Keep the surroundings hazard-free.
Video and technical support are available.
Support Available
Installation drawings and instructional videos
Technical guidance during the installation process
Professional engineer dispatch for larger projects

